![]() Today, I am continuing working on PROJECT ALPHA. The project is chartered to create a test environment for developing a PERL based Etract Translate and Load (ETL) solution.
Today, I am continuing working on PROJECT ALPHA. The project is chartered to create a test environment for developing a PERL based Etract Translate and Load (ETL) solution.
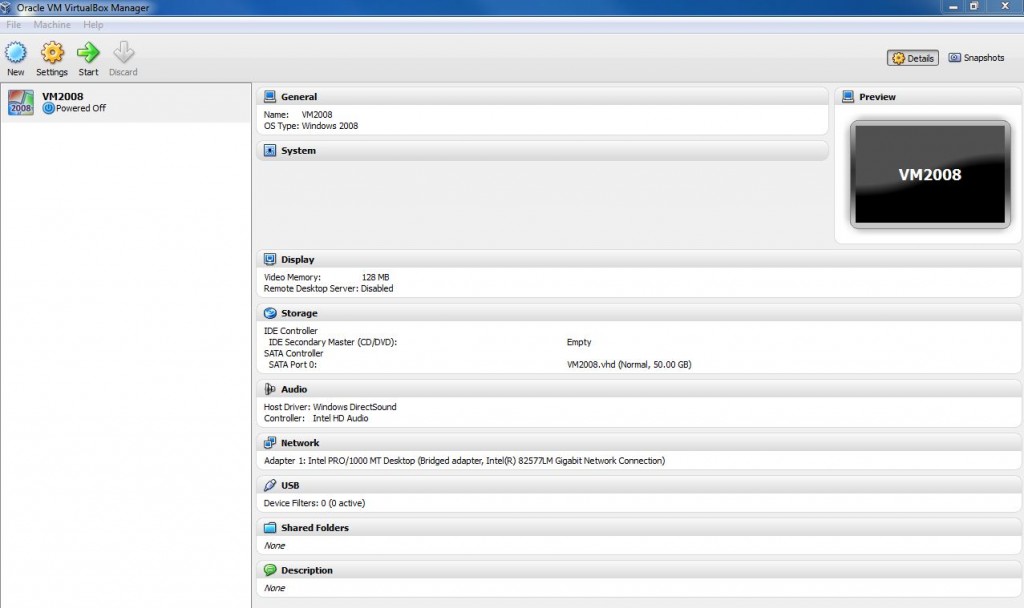
I am assuming that you have correctly followed all Oracle Virtual Box – VHD Creation steps that we did last time. The installation ISO is listed as a bootable drive and will kick off when the Virtual Image is started.
The series of screen shots below will walk you through installing Windows 2008 Server on the new virtual hard disk (VHD).
Step 1 – Start Windows 2008 VHD.
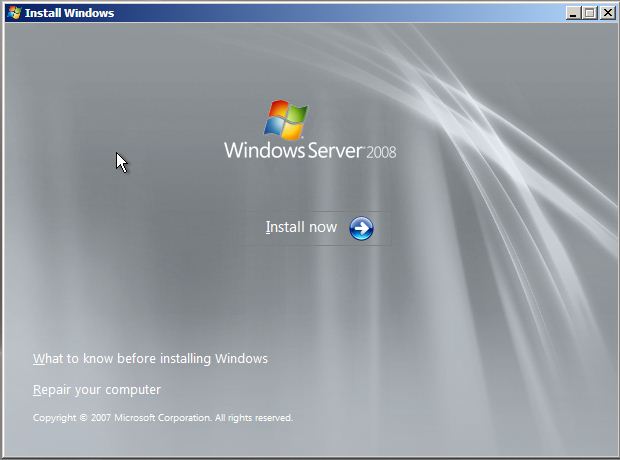
Step 2 – Windows 2008 Server install.
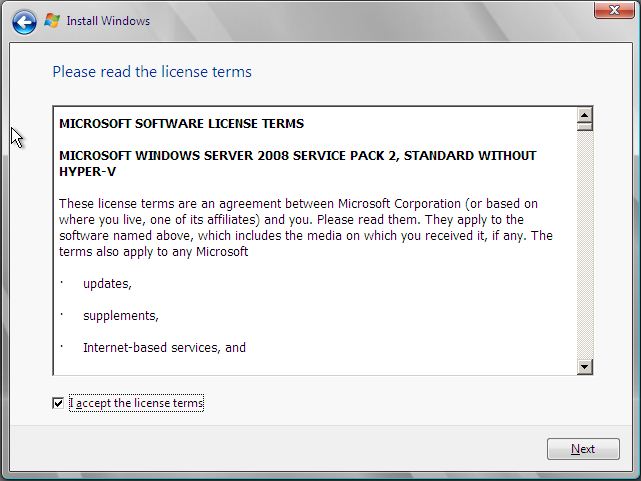
Step 3 – Accept the license agreement.
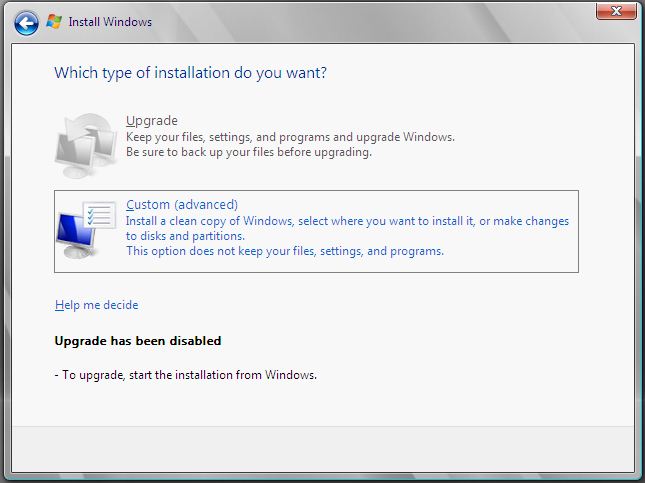
Step 4 – Select custom installation.
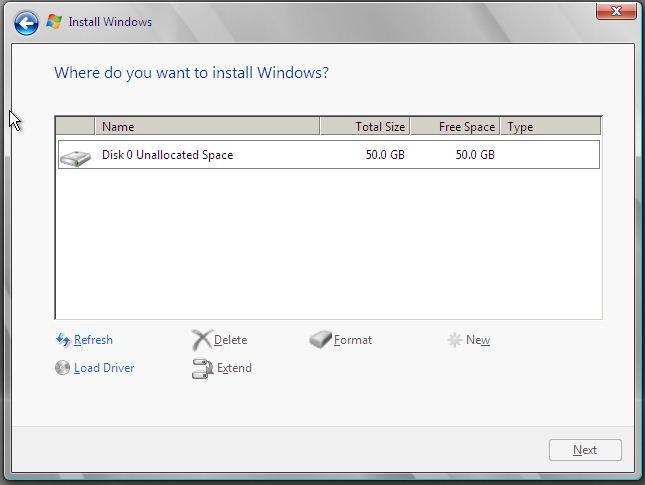
Step 5 – VHD is currently unformatted.
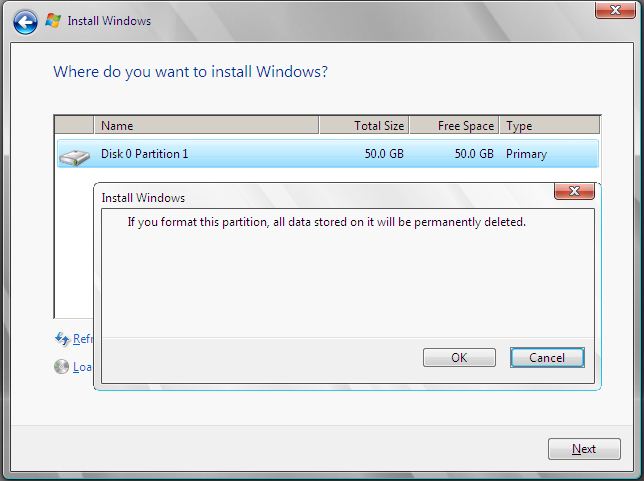
Step 6 – Format the VHD and make default partition.
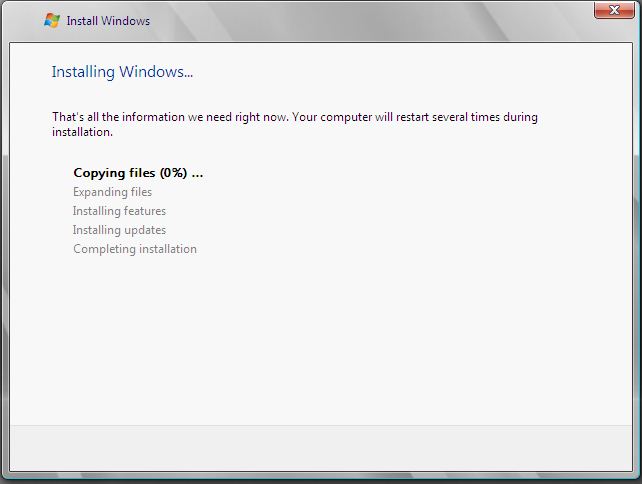
Step 7 – Watch install program run.
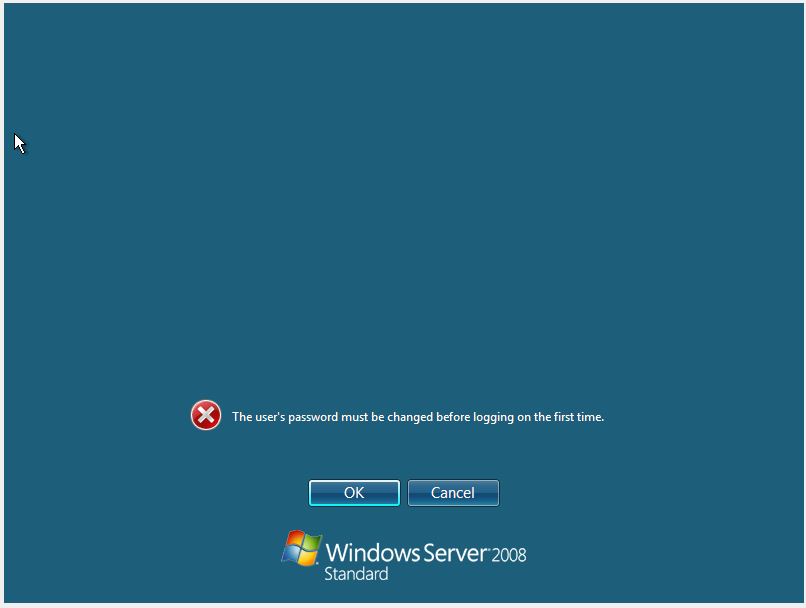
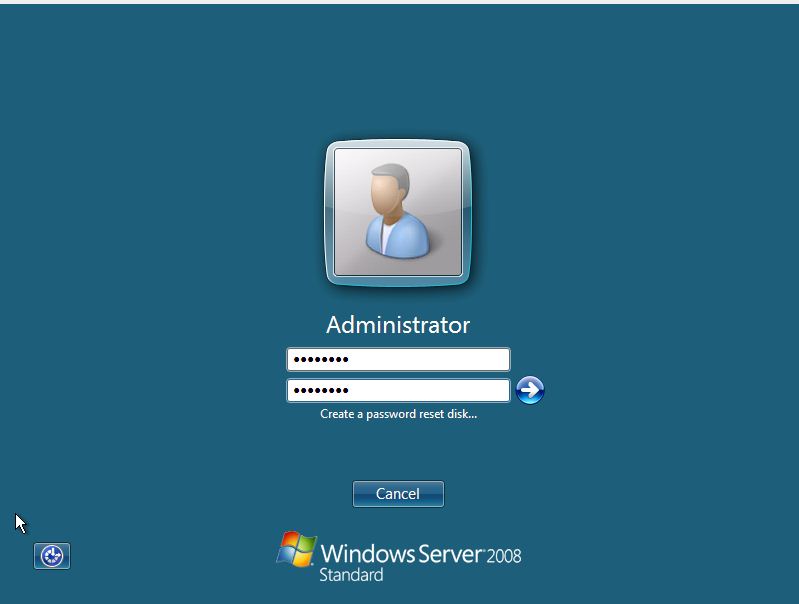
Step 8 – Administrator password needs to be changed.
Step 9 – Change administrators password.
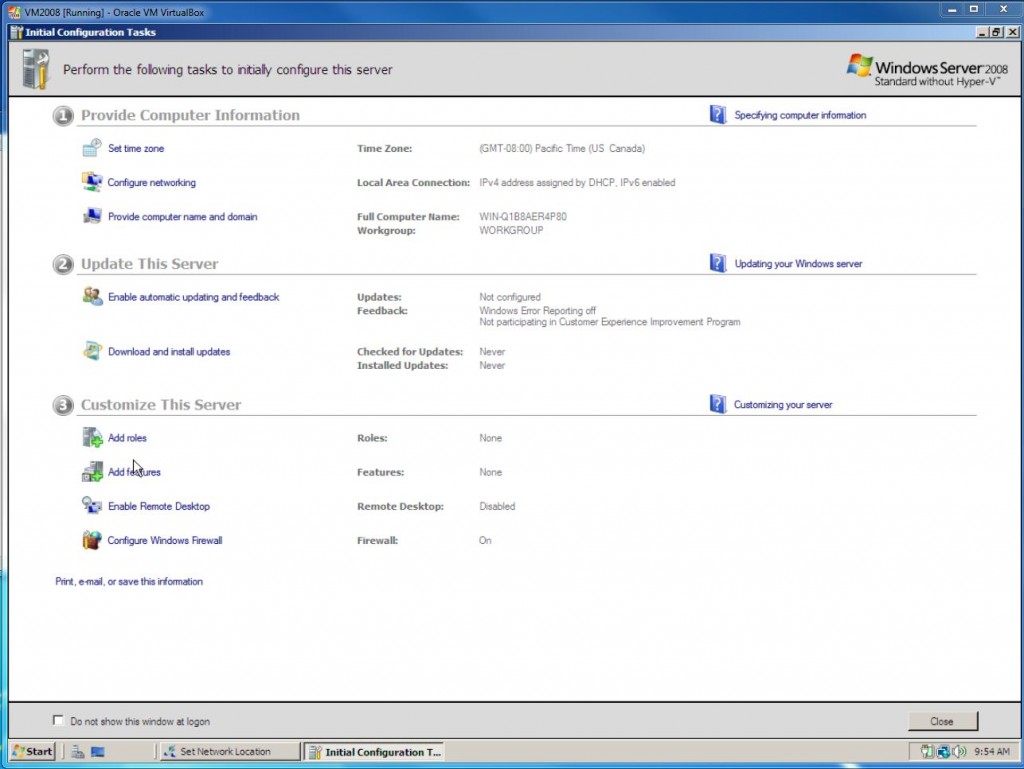
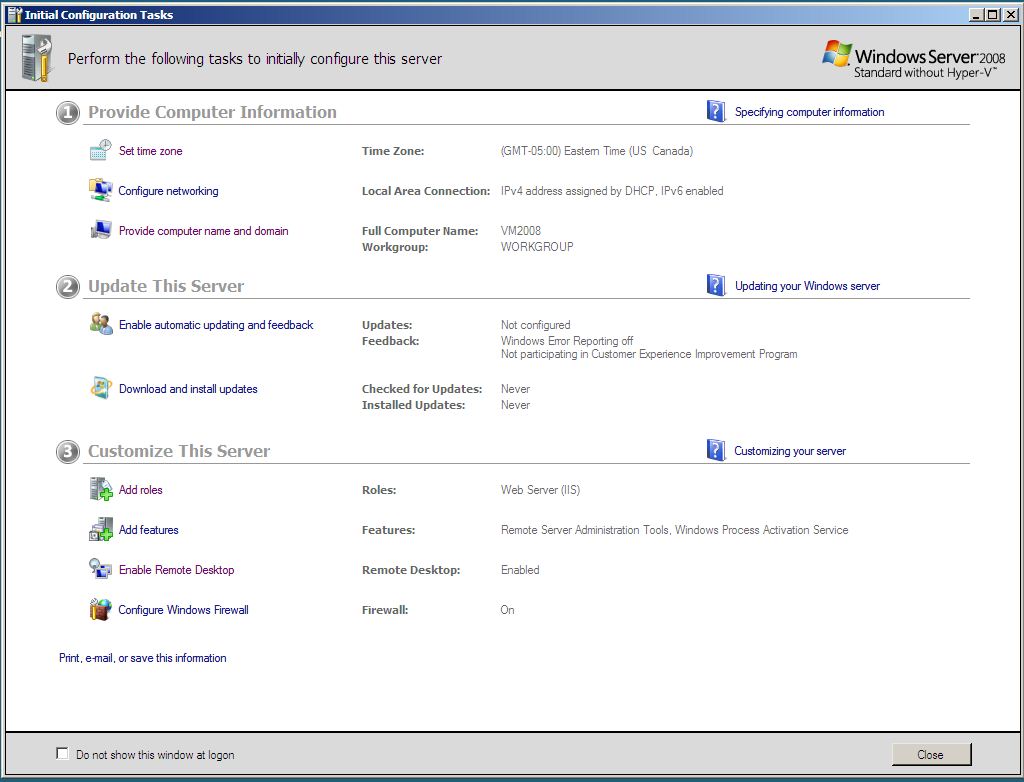
Step 10 – Start configuration tasks (time zone, network, name, roles, RDP, firewall).
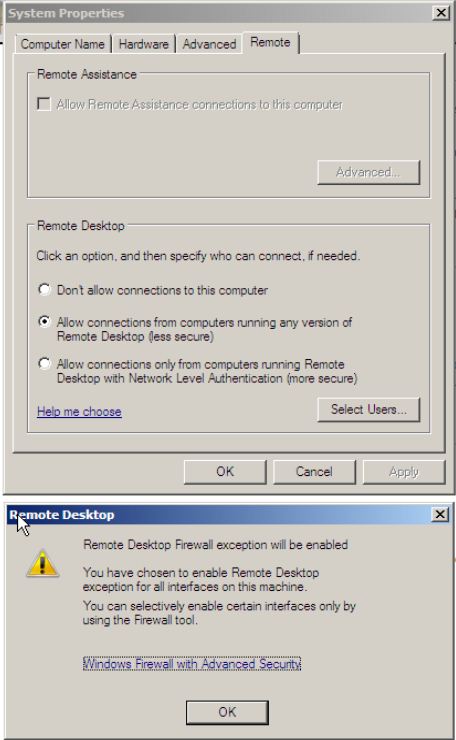
Step 11 – Allow Remote Desktop Connections.
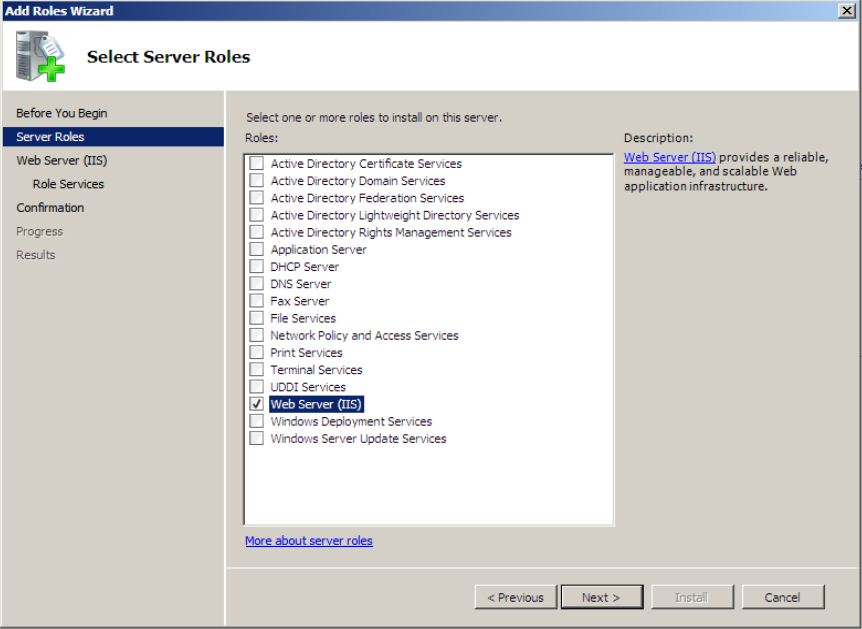
Step 12 – Add Web Server (IIS) role.
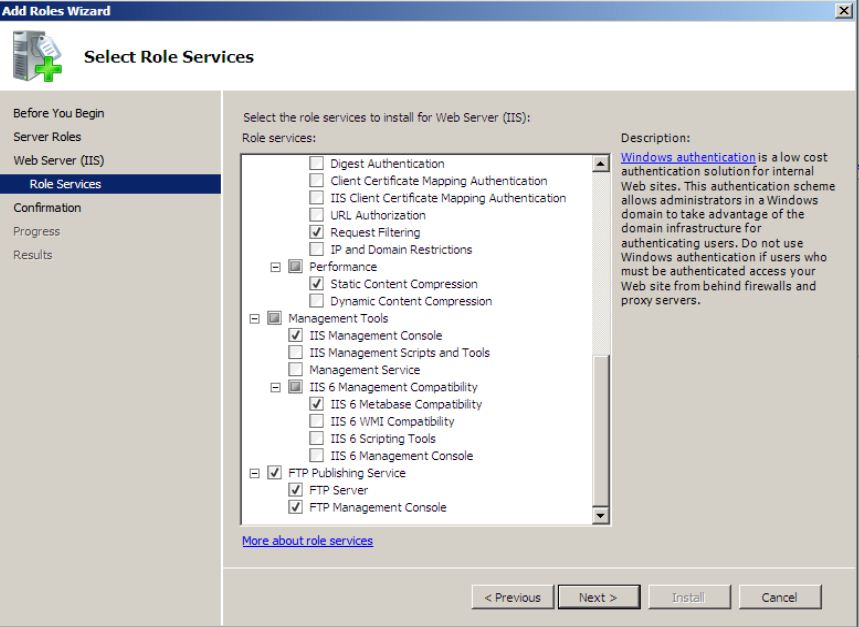
Step 13 – Select FTP server option.
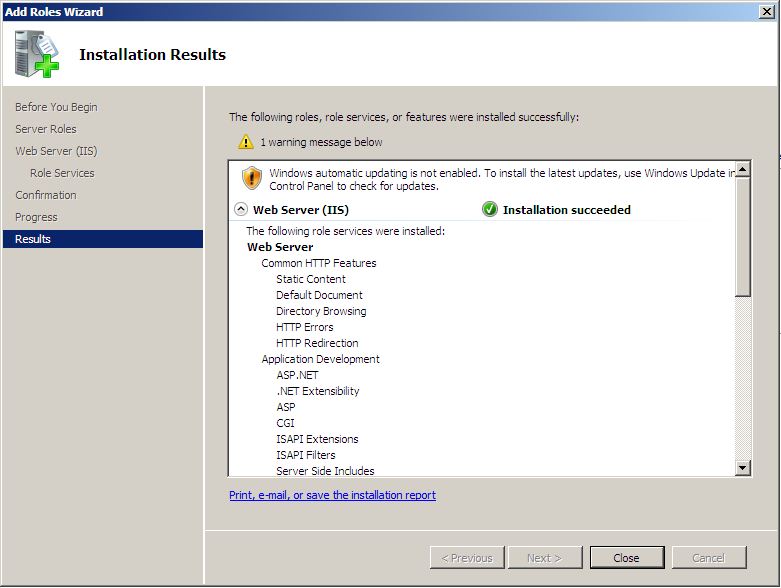
Step 14 – Finish installing Web Server role.
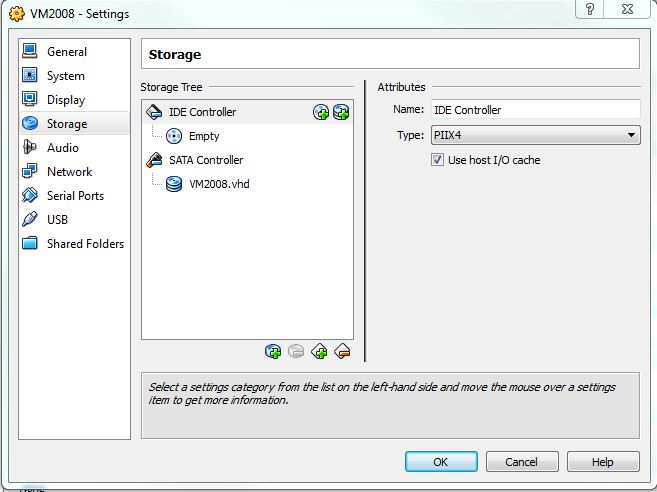
Step 15 – Unmap windows server iso.
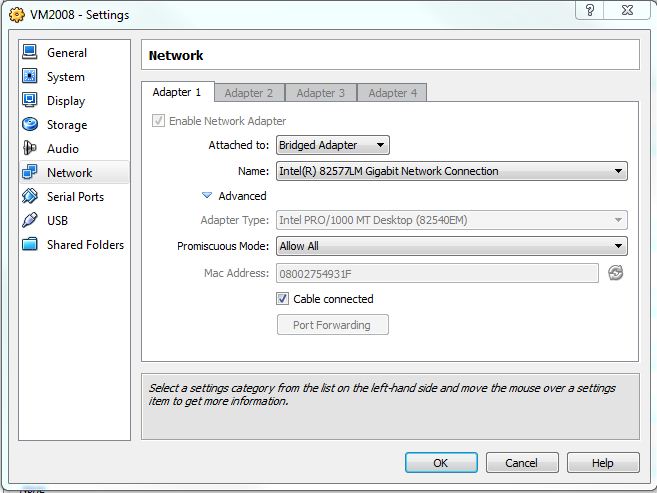
Step 16 – Change NIC adapter to bridged.
Step 17 – Finish configuration tasks.
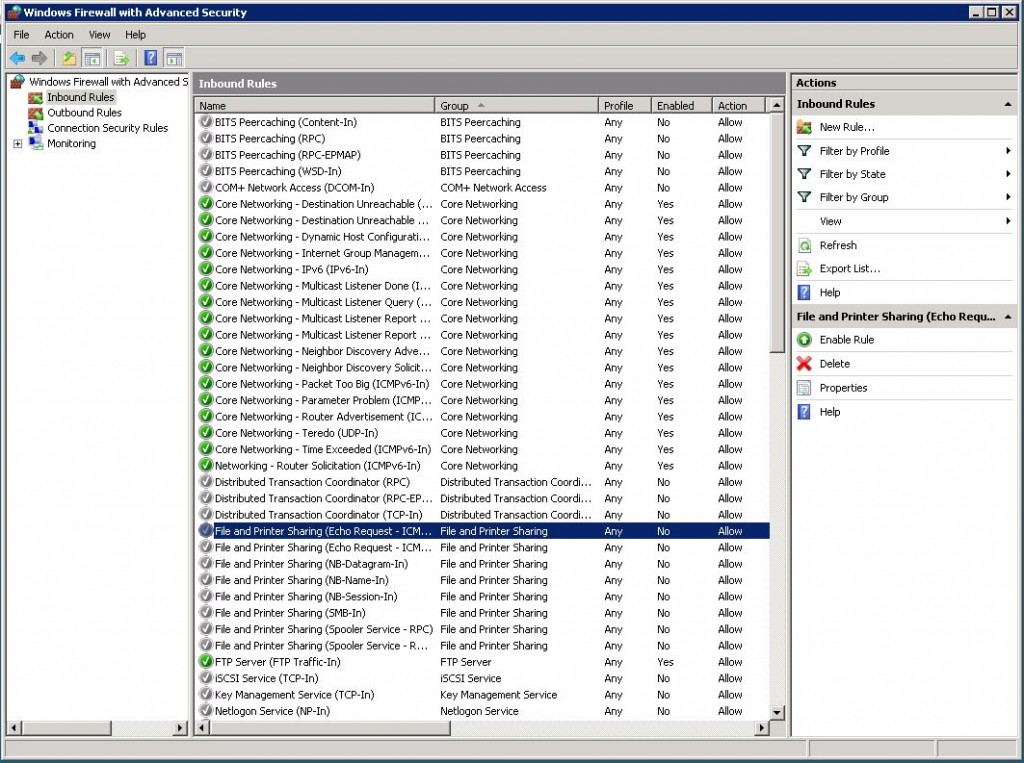
Step 18 – Turn on echo for PING.
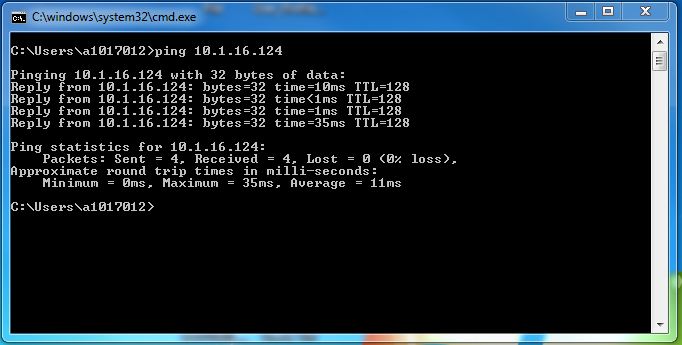
Step 19 – Make sure server is up.
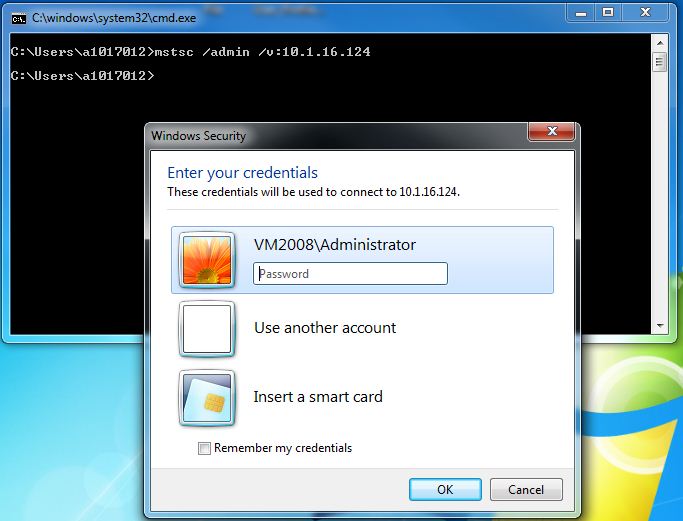
Step 20 – RDP to the server.
In summary, we now have a Windows 2008 server that we can remote desktop protocol (RDP) to. A running guest image will show up in a child window under the main Virtual Box program. You can use this interface to log into the server; However, using a Microsoft RDP session seems to have better screen, keyboard, and mouse response times.
Next time, we will configure and test the FTP server so that we can start talking about writing a PERL ETL program.
