I knew Windows Azure SQL Databases have been around for a couple of years but never had the time or need to research them. With a possible data center consolidation in the future, I was wondering if my company could leverage a Windows Azure SQL Databases to reduce the total cost of ownership for certain applications?
Today, I will be working with the sample [AUTOS] cloud database that I created in a previous blog. I want to test connectivity to this cloud database using common programs and tools that my users or developers might choose.
I will be testing how a power user can use MS Excel to report on data contained within a Azure database.
Let us start with a new MS Excel file called AUTOS-DBMS-IN-THE-CLOUD.XLSX. I am assuming created a ODBC connection named AUTOS using my article as a reference.
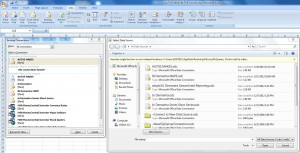
The first step is to go to the DATA tab and choose the EXISTING CONNECTIONS toolbar button. This dialog box will display any existing connection files. Click the BROWSE FOR MORE button to bring up the SELECT DATA SOURCE dialog box. Choose the CONNECT TO NEW DATA SOURCE item in the select box.
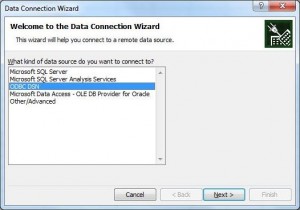
The second step is to select the type of data source from the DATA CONNECTION WIZARD. We want to choose the ODBC DSN as our data source.
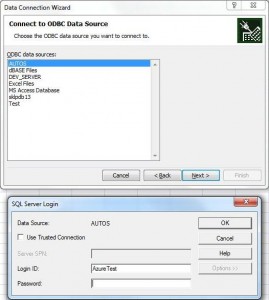
The third step is to choose the ODBC data source name from the DATA CONNECTION WIZARD. We want to select AUTOS as our data source. We need to supply a login name and password to connect to the Azure SQL Database.
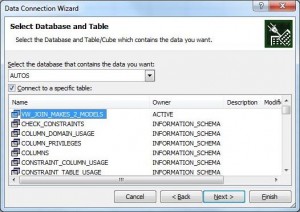
The fourth step is to choose the database name from the DATA CONNECTION WIZARD. We want to select AUTOS as our database. Make sure we choose the VW_JOIN_MAKES_2_MODELS as our source view. Any valid table or view name is acceptable.
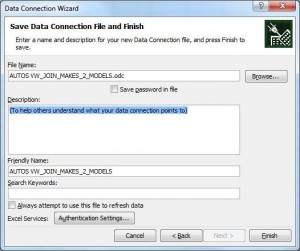
The fifth step is to save the connection information to a file. This allows us to reuse this information for future reporting needs. Choose the default suggested file name from the DATA CONNECTION WIZARD dialog box.
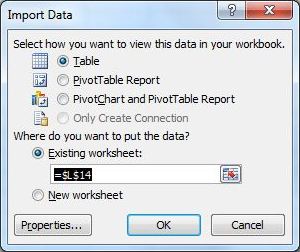
The sixth step is to import the data into excel either as data table, a pivot table, or a pivot chart. I am going to select the data table.
The seventh step is to start playing with the data that has been imported into our spreadsheet. Again, this is a copy of the original data from the cloud. Any changes to this data table will not reflected in the Azure SQL Database.
In a nutshell, importing data from a Azure SQL Database into MS Excel is easy as setting up a file based connection. This task takes 5 steps to accomplish. Afterwards, use this file based connection to import a copy of the data into MS Excel for our reporting needs.
So far, it has been very easy to access data in the cloud. My next experiment is to execute a performance test between both local and cloud based servers. I am hoping that the cloud beats my low end Dell laptop in this test.

